A week in the life of a self builder
Clay Plastering Course: Tarskavaig Isle of Skye

Vinca’s strawbale self build nestled in the beautiful Tarskavaig, Isle of Skye
Approx. 13 min read
New addition to the OSOTIMBER team
Natalie here (Jordan's sister), I’ve recently joined OSOTIMBER with a key objective: mining Jordan's brain for all those valuable nuggets of wisdom! I'll be focusing on creating informative content for our clients, partners, and self-build enthusiasts.

Natural Building Inspiration
While my appreciation for the natural world and the power of community projects isn't a new chapter in my life – having spent years working for an environmental and communities charity, this year marked a truly exciting fusion of these two passions. I had the incredible opportunity to join a group of wonderful individuals on a self-build project nestled in the breathtaking Isle of Skye.
It's fair to say that the initial spark igniting my interest in natural building can be largely attributed to Jordan's unwavering passion. During the pandemic, like so many, I found myself with more time for exploration and learning, which led me down the rabbit hole of Jeffrey Hart's "Building Sustainability" podcast. I became completely absorbed, listening to these magnificent people, or as Jeffrey would say, "wonderful people doing excellent things" and was utterly inspired by the endless possibilities of using natural materials to create and restore our built environment for the better.
So here I am, five years later, still completely hooked and finally presented with a tangible opportunity to get my hands dirty on a project. I was eager to experience first-hand what it's like to be on site and to truly get inside the head of a self-builder, much like the inspiring stories I'd been listening to for so long.
Year of the Natural Builder

My move to Todmorden in 2023 brought an unexpected delight: The School of Natural Building (SNAB) right on my doorstep! I wasted no time in eagerly enquiring about upcoming opportunities to get involved . While I had envisioned 2024 as my dedicated year for all things natural building, the stars, in true natural building fashion, didn't quite align with the course schedules that came up. It was a gentle reminder that this world often operates on its own rhythm, demanding time, patience, and sometimes leading us down paths we hadn't initially planned.
However, the year wasn't entirely devoid of practical experience. I was thrilled to lend a hand to Jordan with the initial stages of his ambitious house renovation project in Aboyne. I think it's safe to say that three trips later, I'm fully invested! As with many natural building endeavours, it's provided the perfect opportunity to trade "helping hands" in exchange for invaluable learning and building skills. While Jordan is an exceptional person to work alongside and learn from, I felt a strong pull to branch out and build my own specific skills, with clay plastering particularly capturing my attention. The subtle (ok maybe not that subtle) motivation was to convince him I wasn’t a total liability so eventually he’ll let me loose on his walls without the fear of it looking like a toddler’s art project.
My first attempt at installing IndiNature Hemp insulation batts at Jordan’s renovation project, which was so wonderful to work with and smells AMAZING!
Clay Plastering Course Tarskavaig Isle of Skye

Finally, this year, SNAB announced a fantastic range of theory and practical courses, and without hesitation, I booked myself onto both the natural plasters theory session and the immersive 5-day practical course on a straw bale build in the stunning Isle of Skye.
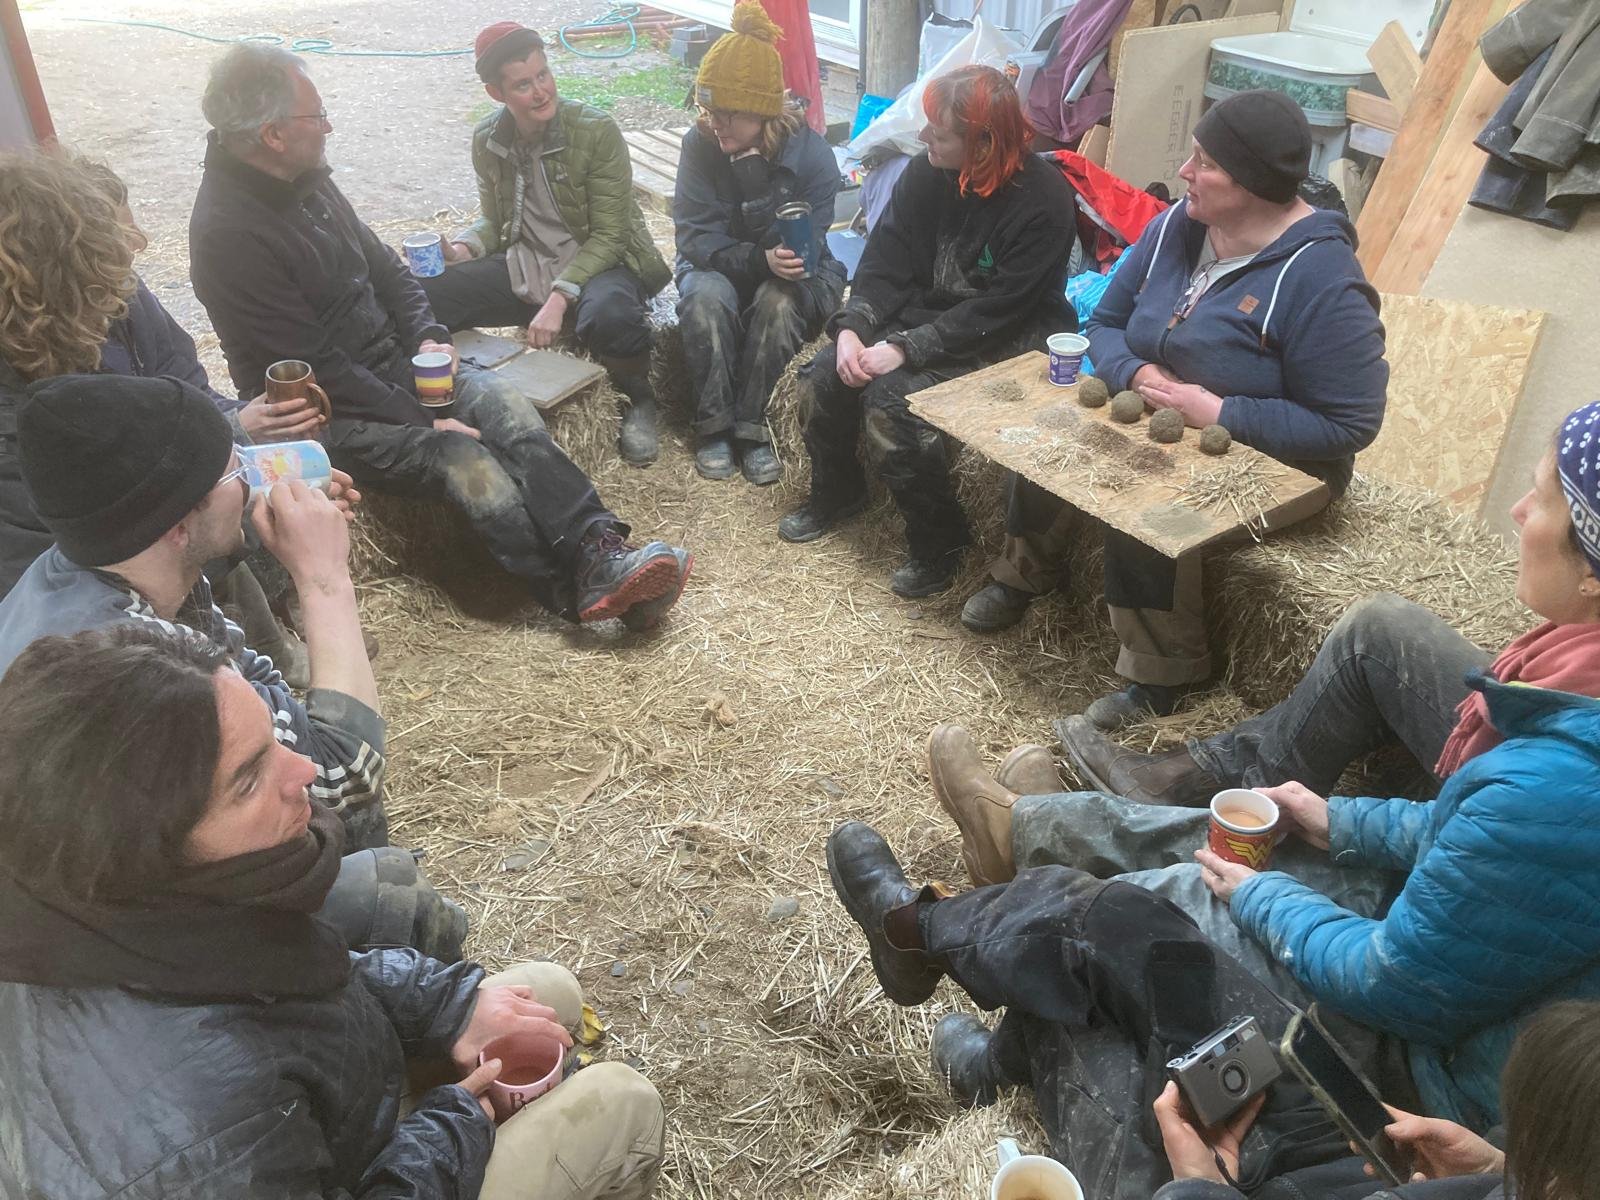
It really appealed to me that the course was open to all abilities, giving me the opportunity not only to join as a complete novice but also to soak up the wisdom of so many others with such a broad range of skills and experience. The course was hosted by the wonderful Vinca, who is embarking on her own first-time self-build journey. We were expertly led by Miki and Rebecca, both possessing an incredible breadth of knowledge and hands-on experience in natural building. I was joined by a diverse group of fellow participants, ranging from determined self-builders eager to upskill for their own projects to forward-thinking architects and plasterers looking to transition away from 'traditional' methods. There were also passionate clay enthusiasts wanting to expand their practice, and individuals like myself, simply following their curiosity and an insatiable thirst to learn more about this fascinating world.
Day 1
Each day, we partnered up with someone new, which was a fantastic way to get to know everyone and share knowledge and skills across the group. The very first lesson I learnt on day one was: preparation is absolutely key! Following our introductions and an initial tour of the site, we immediately got started on the crucial task of preparing the straw bale walls for their primary clay coat. First, we plugged any obvious gaps between the bales using long strands of straw. Then came the application of clay slip, which was essentially massaging a thin, watery clay mixture into the walls by hand. This was surprisingly insightful, as it helped us to identify further hidden holes and inconsistencies that would need filling to create a strong and secure base for the main body coat to properly bond to whilst also playing a vital role in preventing the later escape of heat through the walls.

Here you can see the gaps revealed during our first coating of clay slip to the straw bale walls
Once we had thoroughly examined the walls and identified all the reveals, it was time to fill them. At this stage, we mixed up more clay slip with chopped straw, creating a lovely, sticky consistency that would adhere well to the now damp clay-covered bales. We worked this mixture to fill in all the gaps we had previously exposed. Whilst this initial key coat wasn’t intended to create a smooth or by any means perfect finish, I definitely found myself initially comparing my work to others and seeking reassurance that I was ‘doing it right’. However, over time, I began to realise that this process became more intuitive. It was an evolving journey, with each step teaching you valuable lessons from the last application, inviting a curious enquiry into the relationship between these natural materials and how they were responding to each other. The final part of each day was dedicated to cleaning up the site, ensuring everything was in order for the following day’s work, before we gathered for a final closing circle to talk through any challenges we had faced, questions that had arisen, or key takeaways from the day’s experiences.

Day 2
Day two began with a review of the work we had completed the previous day. It was interesting to see how some walls had uneven coatings, made apparent by the uneven drying patterns. I spent the morning repeating the key coat application on a new wall in another room of the house, and I definitely felt much more confident and in tune with the process the second time around. Following this, we moved on to preparing the window reveals. This involved using a multi-tool to carefully cut the wood fibre board at a precise 45-degree angle, creating a neat edge. We also added nails up the internal wall to provide extra grip for the straw clay mix we would be applying. Then, we began the process of building up and rounding off the window reveals using the straw clay mix, as well as filling in any further gaps we identified on the wall in preparation for the application of the body coat the following day.

Mixing up the magical recipe for the clay plaster body coat
In the afternoon, I was very excited to join Rebecca with the important task of mixing the body coat. Here, we were shown the magical recipe for creating this essential layer. However, it quickly became apparent that this isn’t always an exact science and that a multitude of variables play a significant role in the final result. Therefore, being highly observant throughout the mixing process is absolutely crucial, understanding what adaptations might be needed to achieve the desired consistency. We gradually added water throughout each stage of incorporating sand, clay, and straw, constantly observing the texture and learning when more water was needed to prevent the mixture from becoming lumpy. With the weather forecast predicting rain for the following day, we were keen to prepare as much of the body coat as possible beforehand, without the added challenge of excess moisture entering the mix. Throughout this process, it was also wonderful to soak up so many years of wisdom from Rebecca, hearing about her journey into the world of natural building and all her diverse experiences over the years. What a truly wonderful and inspiring human being!
Day 3
By midweek, we were finally ready to start applying the body coat to the walls that had received their initial key coat. In preparation, we carefully assessed the walls using a long, straight timber plank. This simple technique effectively revealed any undulations or unevenness in the surface, allowing us to identify areas where we needed to build up the plaster to create a level wall. The application itself was again done by hand and proved to be quite satisfying – slapping generous handfuls of the thick, earthy mixture onto the wall and then lightly feathering it out to create a consistent thickness. We also carefully filled the junctions between the wood fibre board surrounding the windows and any exposed pipes using a putty-like blend of clay and hemp, which helped to create a solid fill and prevent future cracking in these vulnerable areas.
Throughout the entire week, we also shared the responsibility of preparing all the various clay plaster mixes we were using. Whether that was creating the thin clay slip (simply mixing clay powder and water), “knocking up” (remixing) clay mix from previous days to revive its desired consistency, preparing the coarser clay-straw mix for filling voids and building up the window reveals, or mixing the smoother putty-like mixture of clay and hemp, everyone got the opportunity to try their hand at everything and share the workload.

Day 4
By day four, we had all had a go at most aspects of the preparation and application of the clay plaster. We rotated around working on different areas of the house, ensuring that none of us became too attached to any particular wall as our own. This provided a valuable opportunity to assess previous work with an unbiased eye, reflect on best practice examples we had observed, and ultimately contribute to a well-rounded finish by the end of the week. Day four marked the beginning of applying the body coat with a float. We were shown the various different finishes and challenges that could arise based on the type of float used and the application methods employed. This emphasised the importance of not overworking the area and ensuring that excess moisture wasn't drawn to the surface, further building on the lesson of how these natural elements communicate with each other. The focus was always on thinking ahead to create the right surface and suction for the next layer to effectively connect with.
I was given the responsibility of building up a window reveal in the morning, which required quite a substantial amount of body coat to be added to replicate the even level and curve of the others that had been created on previous days. I'll be honest, as the building novice of the group, I was quite nervous about this responsibility and worried about messing it up so close to the end. However, with some time, patience, and reassuring guidance, I was actually pretty damn pleased with what I achieved by the end of the morning. The second part of the day allowed me to go back to the beginning again and make a start on the one remaining naked straw wall in the entrance. We had intentionally avoided starting this wall earlier in the week due to the heavy foot traffic in and out, carrying clay and other materials. Being the third wall I had started from scratch, I felt much more confident than I had on day one, and I had a much better understanding of what was needed in this initial stage now that I knew what was to follow.
In the afternoon, we took a short break, allowing our morning's work to settle slightly. We also took this time to refresh our understanding of the numerous benefits of using clay plaster:
Benefits of Clay Plaster

A lovely clay platter serving up a variety of clay samples, aggregates and long and short straw to help give body and strength to the plasters.
* Breathability: Clay allows moisture to pass through, helping to regulate indoor humidity and create a healthier living environment.
* Non-toxic: Made from natural materials, clay plaster is free from harmful chemicals and VOCs (volatile organic compounds).
* Aesthetically pleasing: Clay offers a beautiful, natural aesthetic with a wide range of potential textures and finishes.
* Durability: When applied correctly, clay plaster can be very durable and long-lasting.
* Fire resistance: Clay has inherent fire-resistant properties.
* Acoustic insulation: The mass of clay plaster can help to improve sound insulation.
* Thermal mass: Clay can absorb and release heat, helping to regulate indoor temperatures and reduce energy consumption.
* Recyclable and sustainable: Clay is a readily available and sustainable resource.
The final part of the day was spent making crucial preparations for the final day. This included adding hessian mesh overlay to the window reveals and over areas where wood fibre board met the straw bales, as well as over any exposed pipes. This mesh acts as a reinforcement, helping to secure these areas and prevent cracking in the plaster following its application when it had dried/settled

Applying hessian mesh between the wood fibre board and straw bales
Day 5
Before we knew it, the week had flown by, and we were already on the final day of the course. This day was dedicated to finishing off the body coat in the remaining areas. I was given the responsibility of applying the body coat to two walls using the float. After four days of primarily working with my hands, I found it quite challenging to adapt to using the float. It definitely wasn't as easy as it initially looked! However, as with all these new skills, it takes time to find confidence and develop technique. I made steady progress throughout the day, building on my technique and trying out different floats to see what was most effective.
While we achieved a tremendous amount in just five days, we didn't have enough time to get to the finish/top coat stage. Therefore, as with each and every stage we had completed, we had to then plan ahead for this final layer of work, which would be completed in a few weeks' time. In order to create a good key or textured surface to prepare for the next coat to adhere to, we undertook a process called "scratching" across all the newly plastered walls. This involved using a comb-like tool to create wavy scratches across the surface of the wall. For the window reveals, where we had applied the hessian mesh overlay, we used a brush to create a textured surface instead.
Although we weren't able to complete the finish or top coat during the course, we did get to look over a few different examples of completed clay finishes and discuss what can be achieved in our final closing circle. This provided a captivating glimpse into the final aesthetic possibilities and left me feeling even more inspired to continue this journey.
Key Takeaways
I couldn’t have asked for a better first-time building experience. It was filled with such wonderful people who were incredibly kind, patient, and supportive. Everyone was so generous in sharing their diverse experiences and skills, and it was an all-around uplifting experience that only inspires me to keep learning and developing. While I may not feel quite ready to be let loose on my own building project just yet, I am definitely keen to join more projects to continue building my skills and knowledge. I’ve already enthusiastically signed myself up as a willing volunteer on my fellow housemate from the course upcoming self-build project, and I’m sure that, just like this week in Skye, each experience will help my confidence and abilities grow.
I am so incredibly grateful to have taken away so many valuable lessons from this project and for having the invaluable opportunity to truly get inside the head of a self-builder. Here are my key takeaways:
This experience reinforced a lesson I had previously encountered when deciding to embark on learning about natural building: these things rarely go exactly to plan and, in most cases, take longer than you initially anticipate. It requires significant time, unwavering patience, and a healthy dose of adaptability. While you might have an initial vision and ambition for your self-build, be prepared to change course and make quick decisions, especially when deadlines loom for completing certain aspects.
While you may harbour grand ambitions and an ideal for the build, sometimes compromises need to be made based on practical realities such as time constraints, budget limitations, and the availability of helping hands.
Always think several steps ahead to the following stages of the build. Thorough preparation is absolutely key to avoiding potential problems and headaches further down the line.
Understanding how the different fabrics and materials of your building work and interact with each other is absolutely crucial to achieving the desired end result, both structurally and aesthetically.
The great thing about utilising natural materials is the plethora of options available, their relative accessibility, and how genuinely wonderful they are to work with.
Many hands make light work – well, perhaps not entirely light, but the more people you can call upon to help, the more progress you can make in a shorter timeframe and potentially reduce overall costs.
That being said, the biggest takeaway I learned from this experience is that the people you choose to work with on your self-build make a world of difference and are absolutely crucial to a successful outcome. There are so many inherent complexities in building, and employing individuals who are deeply knowledgeable in the various aspects, understand the challenges that can arise, and can communicate effectively throughout the process will empower you to make informed decisions at each and every stage, all while respecting your initial vision.
With greatly skilled and knowledgeable people often come other greatly skilled and knowledgeable people. Cultivating strong relationships and partnerships with other professionals in the same field creates a solid and reliable team to execute the broad span of works involved in a building project.

At OSO, we pride ourselves on being this crucial partner and integral part of your team. Whether you are a first-time self-builder who has detailed plans but wants to gain a deeper understanding of how the building will perform in the long run, or you are a seasoned self-builder eager to explore the myriad benefits that introducing natural materials can provide to your project, we can offer expert guidance and assemble a strong team of experienced professionals to help bring your unique vision to reality.
Written by Natalie Ross